Monday, January 31, 2011

Give-Away...

There's just one more day to enter to win the first 
Science Mommy Kit!

Click the button on your right to leave a comment!

Monday, January 24, 2011

Mazes...


Ages: This is definitely one for the Big Kids.  Once the maze is built however, Little Kid Scientists will have fun running the ball through the maze.

Materials:  12 x 12" board (we used pine, but particle board might work better), finishing nails, rubber bands, bouncy balls.
The cat is optional, ours isn't as much help as she would like to think!

Procedure:
  • Using a ruler, create a grid on the surface of the board.  Make sure the spaces between the lines are large enough for a bouncy ball to roll through.  This is a great opportunity for Big Kid scientists to practice measuring...they should be doing this step! 
  • At each corner, pound in a nail.  The nails should be secure enough to tug on them with rubber bands, but not so far into the wood that they poke through the back.

It's a lot of nails to get into place.  Connar worked really hard to get his done while I made a maze for Aiden.  Then we discovered why particle board might work better...
The board split in two.  There were too many nails along the grain line of the wood.  Fortunately this happened to me...Connar was working really hard to get all his nails into the board.  Since the wood doesn't need to be pretty, particle board without a grain line, may work better for this project.
  • Once the nails are all in place, it's time to build the maze.  This is where the real thinking happens.  Using rubber bands to create walls and boundaries, build a maze.
  • The mazes are easy to take apart and build again.  Over and over.
  • Connar used the ball while he was creating the maze to check for dead-ends.
I put a maze together for my younger Kid Scientist, Aiden, who solved it very quickly.  I suggested he create a maze for me, one that wasn't as easy as the one I built.  After about 10 minutes he looked at me and said, "Building these is really hard work Mommy!"  This Science Mommy loves it when the thinking is the hard work!
Have fun with your mazes!


Saturday, January 22, 2011

It's a Give-Away...


Wow!  Thanks to all of you, we reached 100 Google Friends Readers and now it's time for a 
Give Away!!

You are about to get your first look at the very first, Science Mommy Kit
The kit includes:
  • 1 spring scale
  • 4 pipettes
  • 2 mini petri dishes
  • 2 shallow bowls
  • 2 dropper bottles
  • 2 magnets
  • 1 pulley
  • 4 balloons
  • 2 film canisters for baking soda rockets
  • food color
  • 2 Owl pellets
  • 2 tweezers
  • 1 Owl pellet dissection guide
All packaged in a Science Mommy Kits box.

To enter, do a Science Mommy investigation or exploration with your Science Kids. That's important...since sharing science with Science Kids is the goal of this blog.  Then leave a comment on this post sharing your experience.  The winner of the science kit will be randomly chosen from these comments on February 1st.

Have fun with Science! 

Friday, January 21, 2011

We're so close...


When The Science Mommy reaches 100 Google Friend Followers
we will be hosting a give-away!

We have 93 right now...we only need 7 more!

Monday, January 17, 2011

Science Kits & Models

I had another post ready for today, but I will save it for next week.  My Science Kids were so excited over the weekend to explore their science kits and models, that I just had to share. 

Ages: There are science kits and models available for all ages of Kid Scientist.  The Science Mommy encourages you to read the recommended ages as this is based on the skills required, the safety of the kit and the reading level of the directions.

Big Kid Scientists:
Connar purchased an AM/FM radio kit at a local toy store.  He spent all day working on getting his radio built and working.
Connar is a pro at building Lego models, so the first time through his radio construction he only looked at the pictures.  When the radio didn't work, he realized he'd missed important information by not reading all of the directions.  I helped with some vocabulary, but for the most part he was on his own to read and figure out what the directions were saying. 

Once the radio was constructed he struggled with the antennae.  This led to some online research as well as practical trial and error to make the antennae work. 

Your Big Kid Scientists can practice important science skills by building a model or kit:
  • Reading Directions
  • Problem solving
  • Persistence 
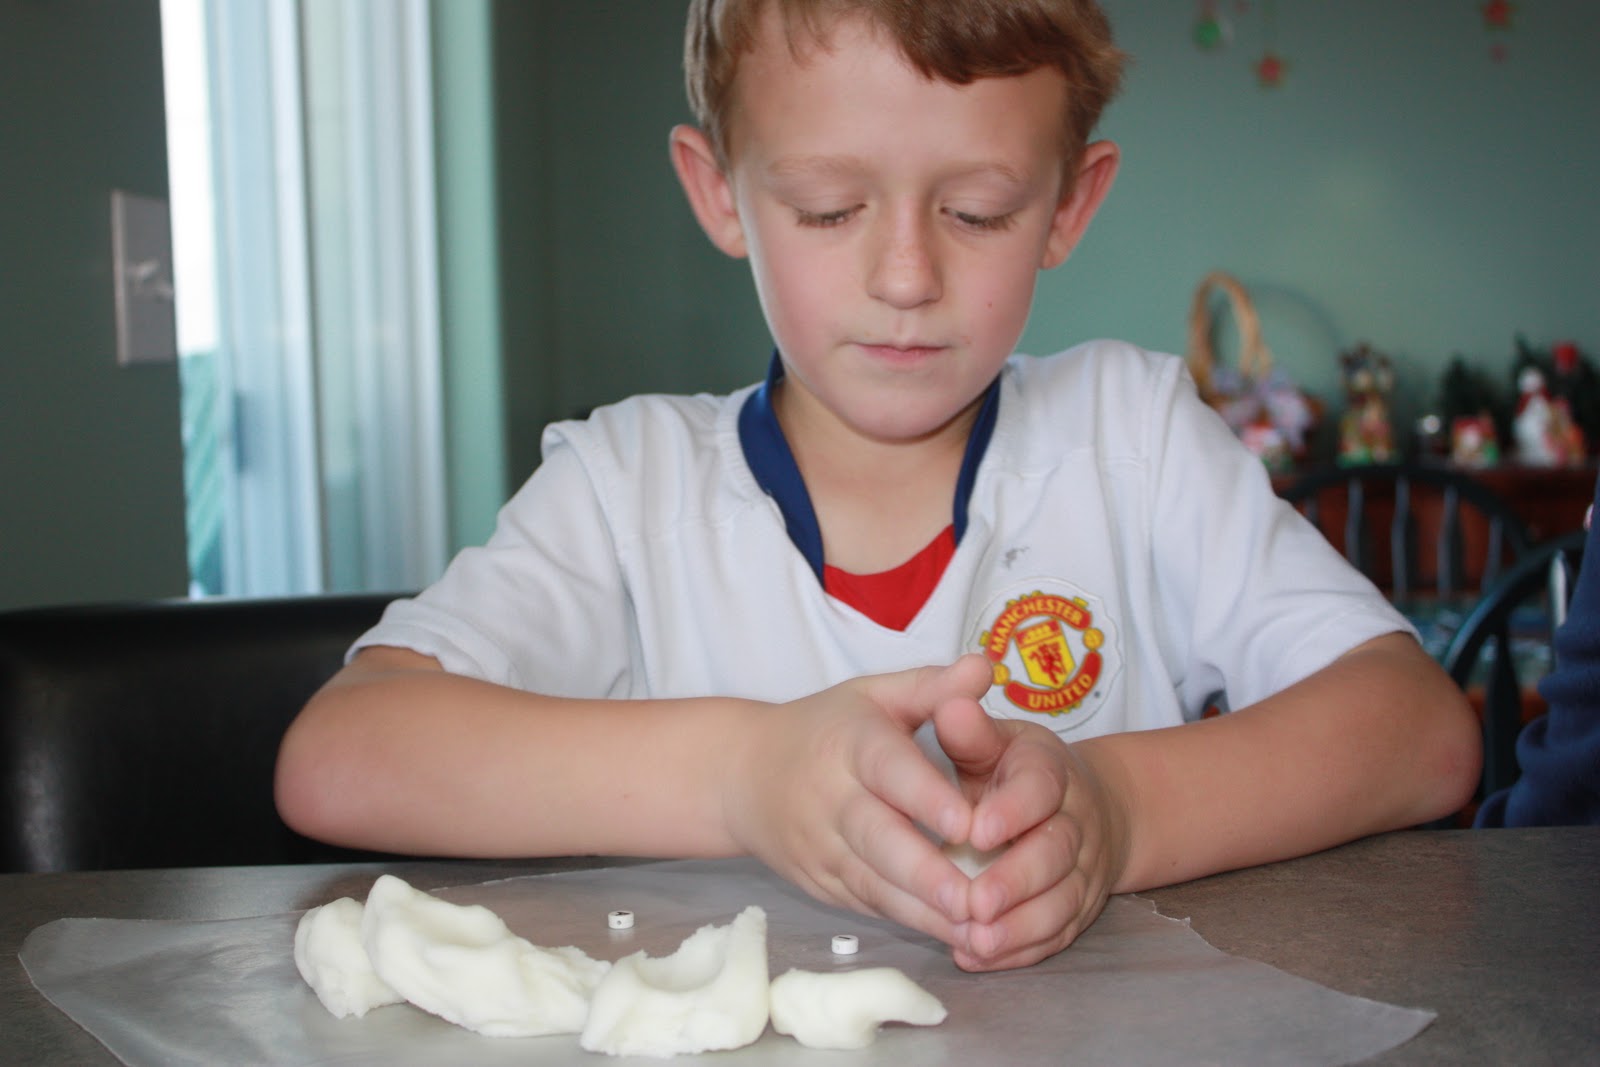
 Younger Kid Scientist - 
Aiden received a Rock Tumbler for his birthday last month.  The age recommendation on the package is 10 and Aiden is 7.  There isn't anything unsafe for him in the rock tumbler but the directions were very long and difficult for him to decipher.  In fact, I needed to walk him through the initial steps.  In addition, the rock tumbler takes up to 16 days to complete the tumbling. He really wanted them to be done in about an hour.  This was fun for him to set up, but didn't have the same satisfaction as the radio kit did for his brother.


 Consider your Kid Scientists interests, age and abilities when selecting a pre-made science kit or model.

Monday, January 10, 2011

Science Adventures...

Wolf Lodge Bay on Coeur d'Alene lake is a wintering location for migrating bald eagles. The Science Mommy recently took her Kid Scientists on a science adventure...

It was around 5 degrees the afternoon we headed out to Higgin's Point to see the Eagles.  We all bundled up and stayed as long as we could!
 
Aiden enjoyed spotting the eagles with his binoculars so that he could see them up close.

Higgin's Point is a good spot for bird watching in the summer too, so there are mounted telescopes and interpretive signs.  

Their information about eagles is interesting and easy to read, for most Kid Scientists.

We caught this eagle fishing...thought the light was fading, we could see the fish caught in talons as the bird flew off.

The eagles are magnificent and it was well worth the trip to watch them.


Monday, January 3, 2011

Robot Snowmen...

 Here's a great snowy day project for Kid Scientists of all ages, based on this cornstarch clay recipe at Disney's Family Fun magazine online.

Ages: All ages of Kid Scientists can play with the clay and create snowmen robots.  Only Big Kids should cook the clay recipe, and only with supervision.

Materials:  2/3 cup salt, 1/3 cup baking soda, 1/2 cup cornstarch, found objects from around the house


Procedure:
  • This is a good opportunity for Kid Scientists to practice measuring dry ingredients
  • In a small saucepan, mix the salt and baking soda with 1/3 cup of water and bring to a boil
  • In a small bowl, combine the cornstarch and 1/4 cup water mixing well
  • Once the salt mixture has boiled, remove it from the heat and add the cornstarch mixture
  • Stir to thicken the clay
  • Remove the clay to a sheet of waxed paper and allow it to cool before working with it. 
  • Create your snow men with the clay and accent with "found objects" to create a Robot Snowman

  • Set your Robot Snowmen in a safe place to dry.  This clay takes a couple of days to dry completely.